12 Stone Base House Exterior Ideas: Look Like It Carries Weight

Add us as a preferred source to see more stories on Google.
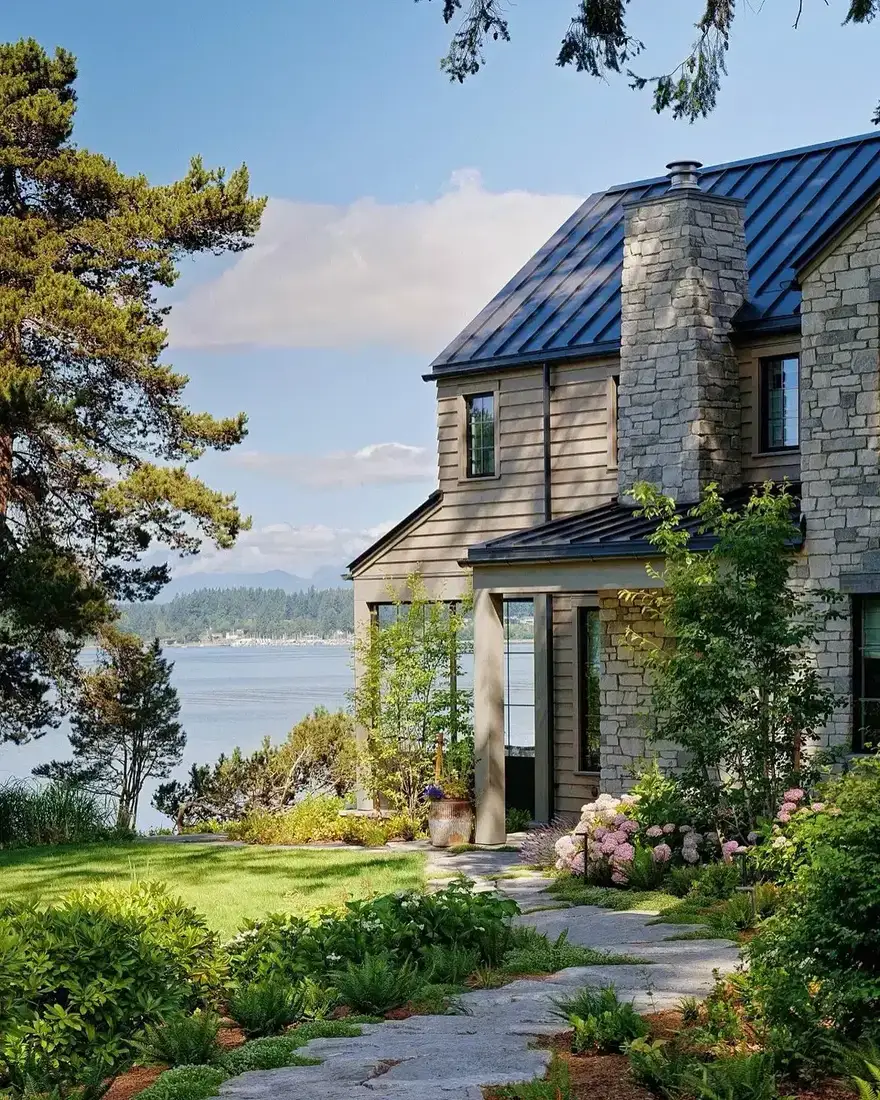
Look at where the stone stops on the house below.
It does not stop. The right-hand volume is stone from the ground to the eaves, and the chimney is stone all the way up. The clapboard section beside it has no stone on it at all.
That is the arrangement that reads as construction. The alternative, which is what most new houses do, is a band of stone running about a metre up every elevation and finishing in a level line with a small sill on top. Nobody has ever built a wall that way for structural reasons, and the eye knows it.
Where stone can honestly stop
Four places, and each of them has a reason behind it.
At a whole volume. One part of the building is stone and the rest is not. This is how houses that grew over time actually look, and it is the most convincing arrangement.
At a floor level. Stone to the underside of the first floor, timber above. There was a real historical reason for this, which is that the ground floor took the weather and the damage and the upper floor did not.
At a change of plane. Where the wall steps back or a roof line intervenes, the material can change with it.
Stepping with the ground. On a sloping site, a stone base that follows the fall rather than running level reads as a plinth holding the building up, which is exactly what a plinth is for.
What does not work is a level line at an arbitrary height on a flat wall, with the same band wrapping every elevation.
Veneer, and how it gives itself away
Most modern stone on houses is veneer: thin stone, 25 to 40mm, applied to a structural wall. It is a legitimate product and it is how almost everything is done now.
Three details separate a good veneer job from an obvious one.
Corner returns. At an external corner, real stone shows a thick, irregular end. Veneer shows a thin slice unless proper corner pieces are used, which are L-shaped and considerably more expensive. Skimping here is the commonest failure.
The top edge. Where stone meets siding, there has to be a flashing taking water out of the wall, and weep holes letting it escape. Water gets behind veneer; that is expected and designed for. A veneer installed tight against siding with no drainage traps it.
Mortar joint width and colour. Wide, pale mortar makes the stone look like it is floating in cement. Narrow joints, in a colour taken from the stone itself, let the stone read as stone.
Ask to see the installer’s previous work in person rather than in photographs, and look specifically at a corner.
Choosing the stone
Local, wherever possible. Stone is a regional material, and a Cotswold limestone on a house in a granite area reads as imported, because it is.
For veneer, the names that come up most are Eldorado Stone and Boral Cultured Stone in the US, and Stoneface and Marshalls in the UK, typically £50 to £110 per square metre supplied. Genuine thin-cut natural stone from a local quarry runs higher and looks considerably better at the corners.
Colour range matters more than colour. Fieldstone of any kind contains many tones, and a veneer product with only three or four faces repeating gives you a visible pattern across a large elevation. Ask how many different stones are in the range.
Match the joint profile to the stone. Chunky rubble takes a generous joint; a coursed ashlar-look wants a tight one.
Everything else takes its colour from the stone
Same rule as a full stone house. The stone is fixed, so the cladding, the roof and the joinery all have to be chosen from inside its range.
On the house above, the clapboard is a greige taken straight out of the stone, the roof is a dark blue-grey that picks up the cooler stones, and the window frames are dark rather than white. Nothing is fighting.
The usual mistake is choosing a siding colour first and then a stone from a supplier’s board. Do it the other way round: stone first, everything else after.
Stop the base where the sills already drew the line
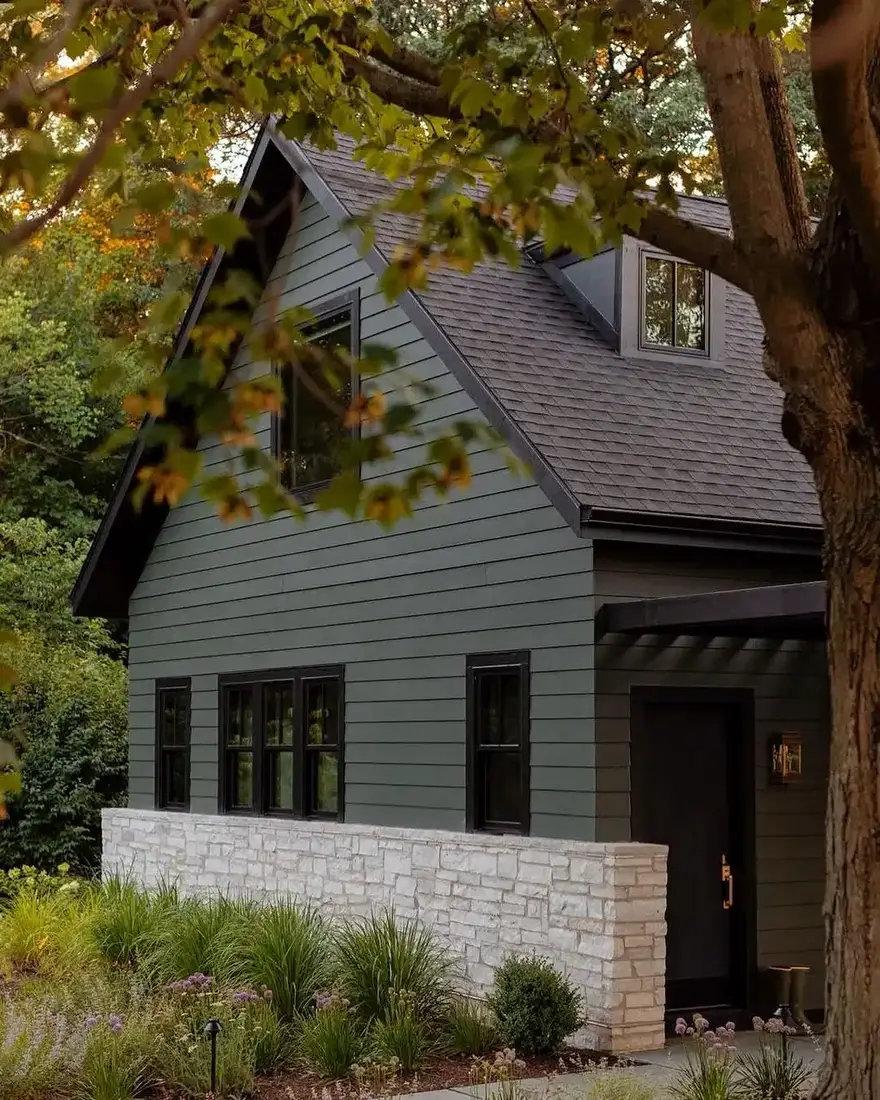
This cottage gets the height right, and you can see why in one glance. The pale stone runs up to the underside of the ground floor sills and stops dead level, while the dark green boarding starts above it. The house owned that line before the mason arrived. Boards in this register sit close to Farrow and Ball Green Smoke No.47, and the near black frames keep the openings crisp against both materials.
Mark the line before anything is ordered. Stand across the street with the mason and agree which existing line the top course follows. Once stone is laid the height is fixed, and grinding it down or adding a course reads from the pavement.
Fix the water detail at the same time. A metal flashing tucks behind the first board and kicks out over the stone, so runoff leaves the wall instead of soaking the top course. Then point the base in mortar taken from the stone itself, in the same way the main article describes, so the joint recedes and the stone does the talking.
Let a garden wall do the work instead of touching the house
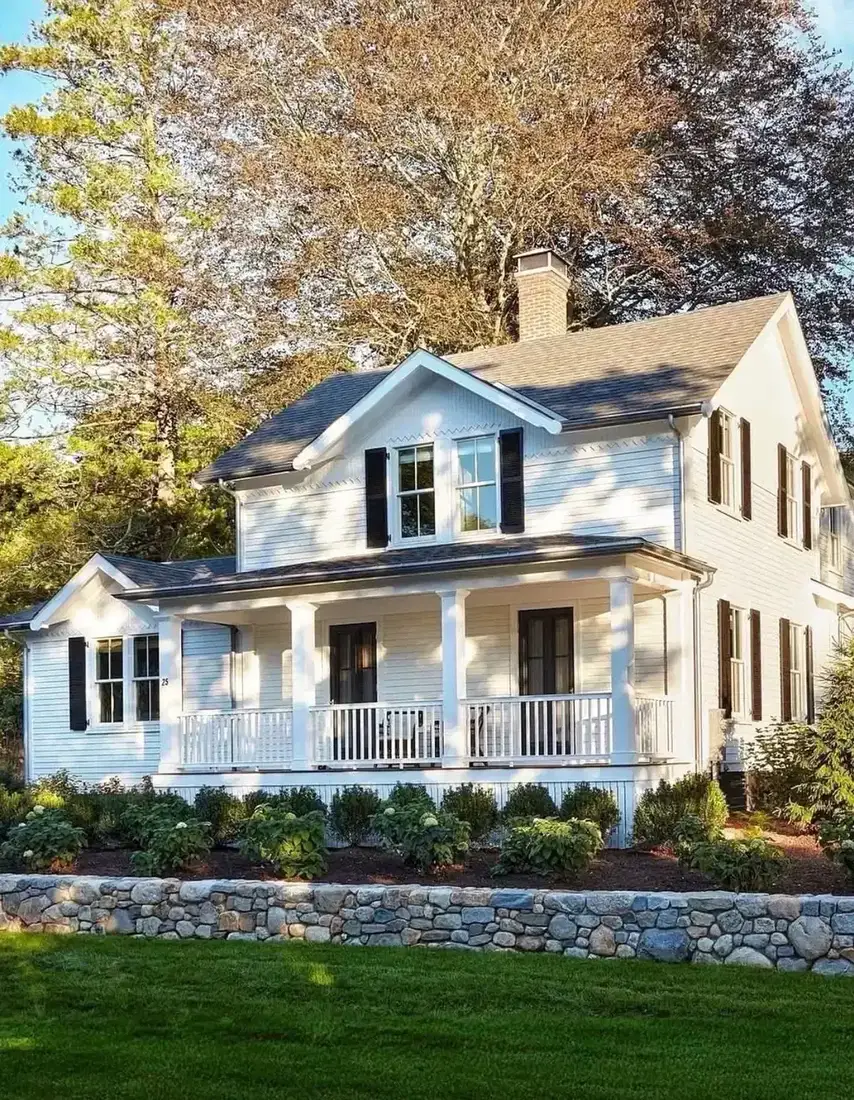
Look carefully, because this one is honest in a different way. There is no stone on this house at all. The masonry sits out on the lawn as a freestanding garden wall, and it still gives the front the weight a base would give. That is a legitimate move, and on a timber house it is often the cheaper one, since a garden wall needs no flashing, no weep holes, and no argument with the wall build-up.
Build it like a wall, not like cladding. A dry stone wall goes up with a proper footing, stones laid on their natural bed, and through stones tying both faces together. Coping stones cap the top with an overhang each side so rain drips clear. Work of this kind runs £120 to £250 per square metre built in 2026, and it lasts a century where a stuck on facing fails in a decade. Order the walling stone together with Bradstone or Marshalls coping units as bulk bags from Travis Perkins or Jewson, so everything arrives from consistent beds and the colour holds across the run.
Keep the wall below the porch floor line. Anything higher starts competing with the house instead of setting it off, and it steals the view from the porch seats.
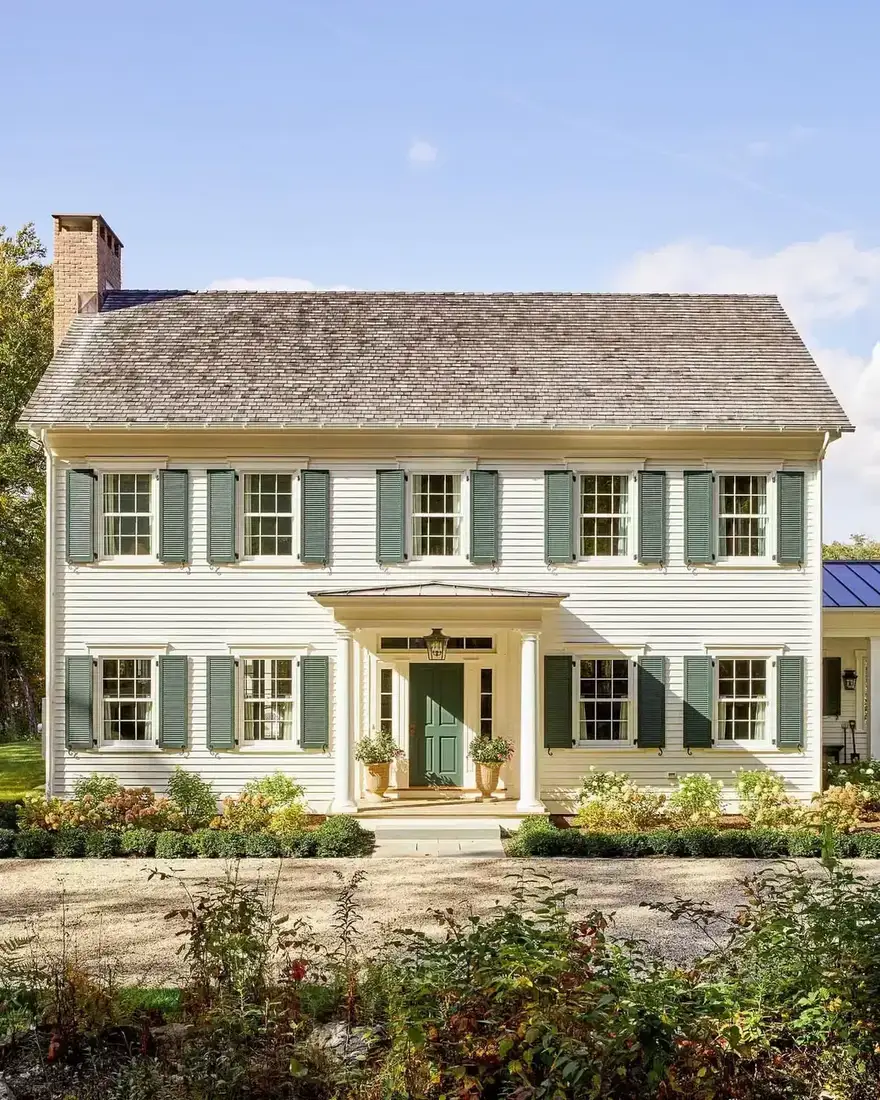
Put the stone in the steps and the cheeks

Here again the house walls carry no stone. The masonry is all in the entrance stair: solid cheek walls either side, low retaining walls running out into the garden, and treads between them. On a formal front this is the correct place for it. Steps take boots, frost, and mower strikes, which is exactly what stone tolerates and render does not.
Build cheeks as mass, not as facing over block. Water sits on every tread, so each nosing needs a small projection that throws runoff clear of the riser below. Iron railings want paint kept sound where they enter the stone, because rust jacks the joint open and the repair means cutting the stone. Set newel and rail feet with Fischer resin rather than lead plugs, which work loose with frost. Shutters in this green sit near Little Greene Olive Colour 72, which belongs with cream render the way black belongs with white. Coat that render in a breathable exterior system in the Dulux Weathershield register, not a cheap masonry paint that peels in sheets after two winters.
Order matters. Footings first, cheeks second, treads last, railings after the mortar has cured. Set a railing in green mortar and it loosens within a year.
Let the chimney carry the stone upward
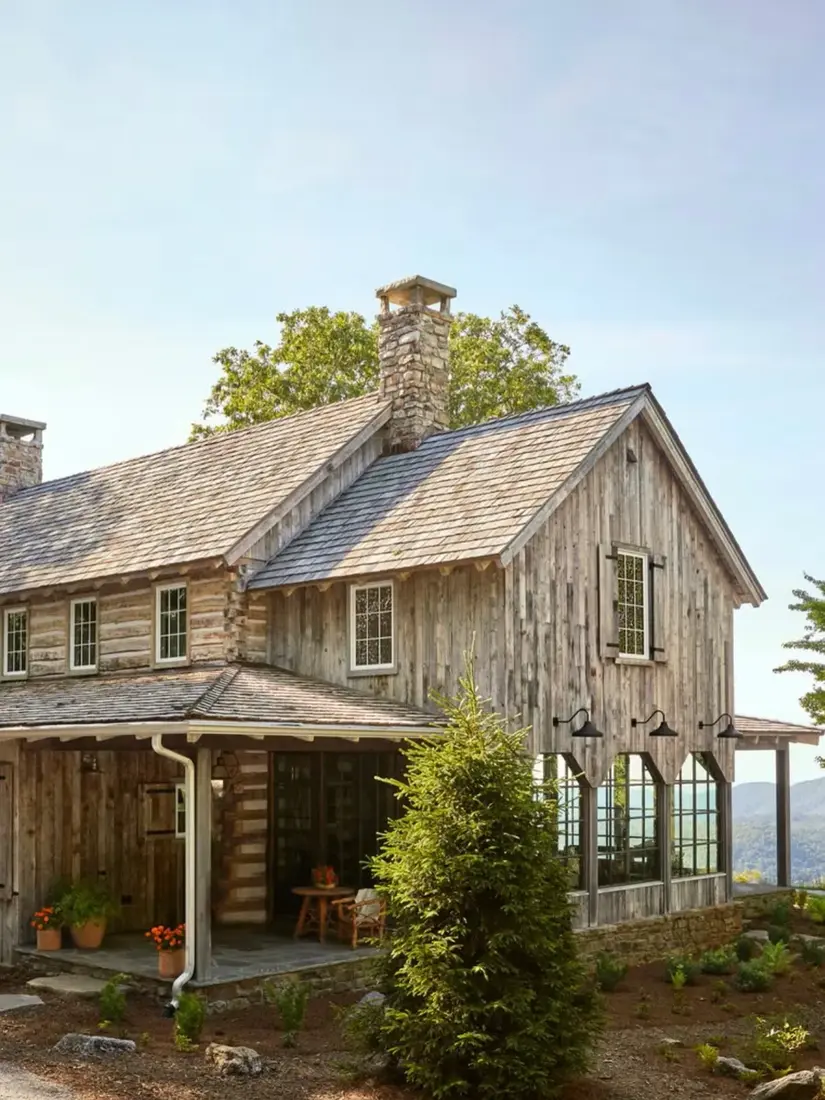
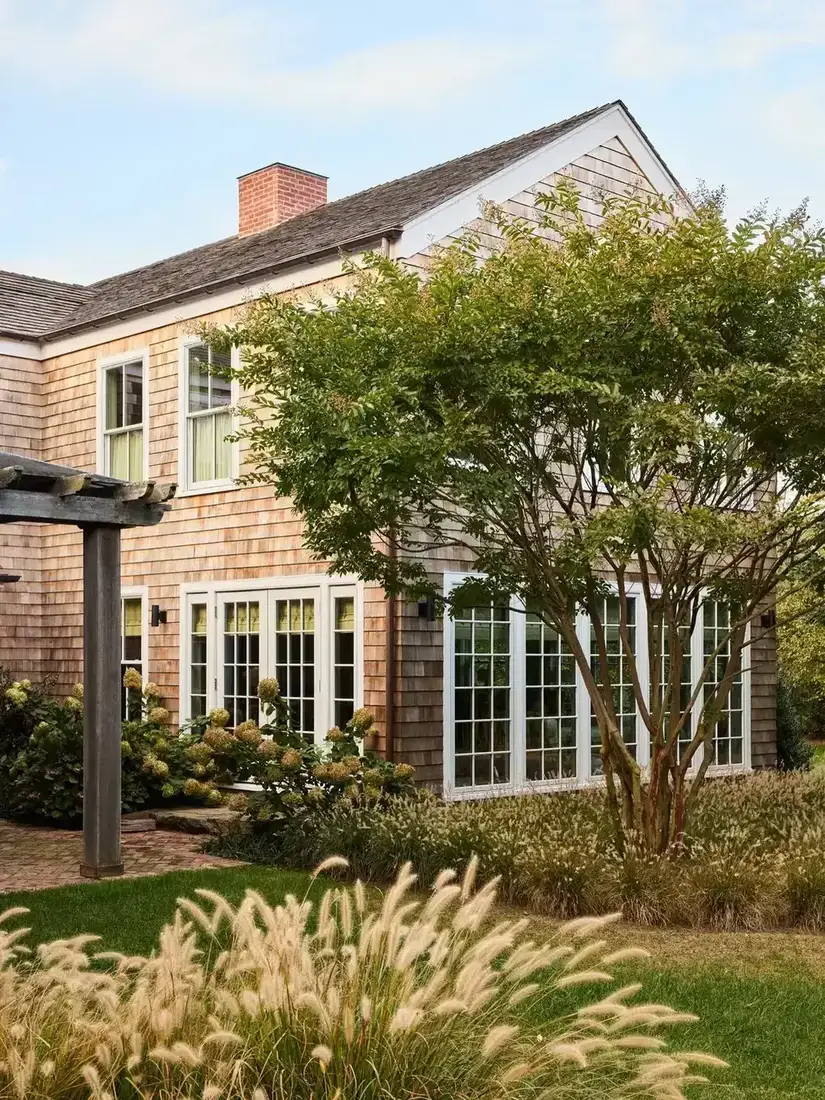
This barnwood gable shows the two stone jobs side by side. The chimney runs full height in fieldstone with a proper cap, and the low plinth under the glazed end steps with the falling ground. One carries the eye up, the other holds the building down, and the silvered boarding is left alone between them.
Chimneys stayed masonry long after walls went to timber, which is why a stone stack reads as original even on a new build. That only holds if the stack is honest: full height, generous at the cap, and flashed where it leaves the roof with stepped joints and a cover flashing. A stack that starts at the eaves on a corbelled bracket fools nobody.
Mind the discharge points. The downpipe here runs to the ground beside the plinth, and that is where staining starts if it splashes. Shoe it into a gully or a gravel margin, and keep the boarding clear of the stone with air behind it. Where gutters want replacing, powder-coated steel from Lindab or plain seamed zinc both sit quietly against silvered timber. Timber that bears on masonry wicks moisture, swells, and rots from the bottom up.
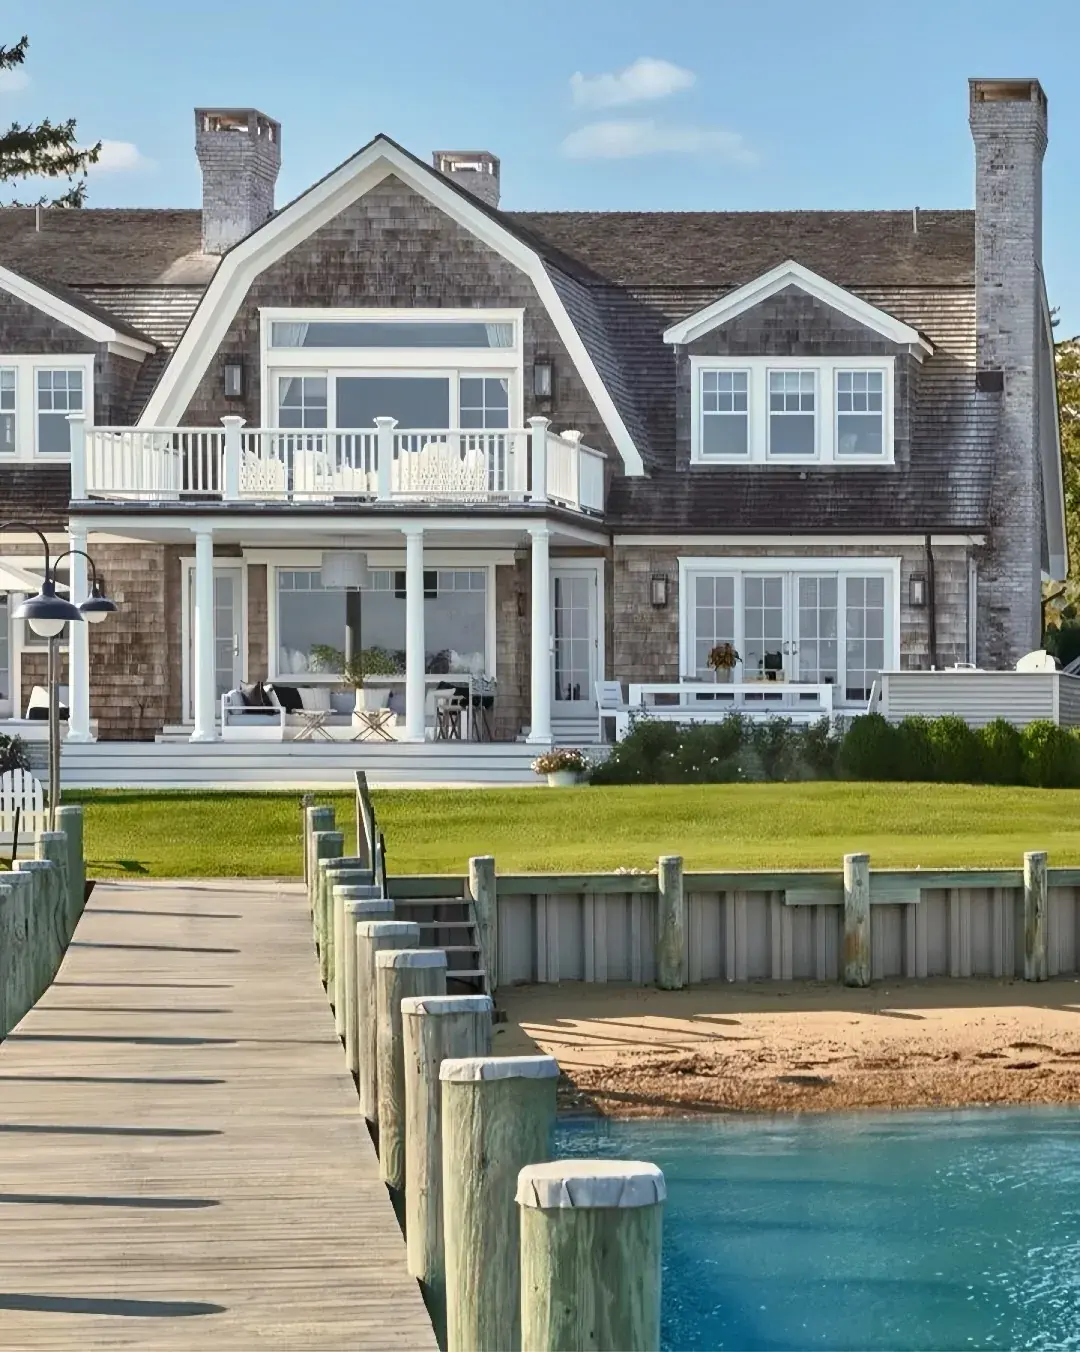
Give the porch posts a pedestal with a cap that throws water
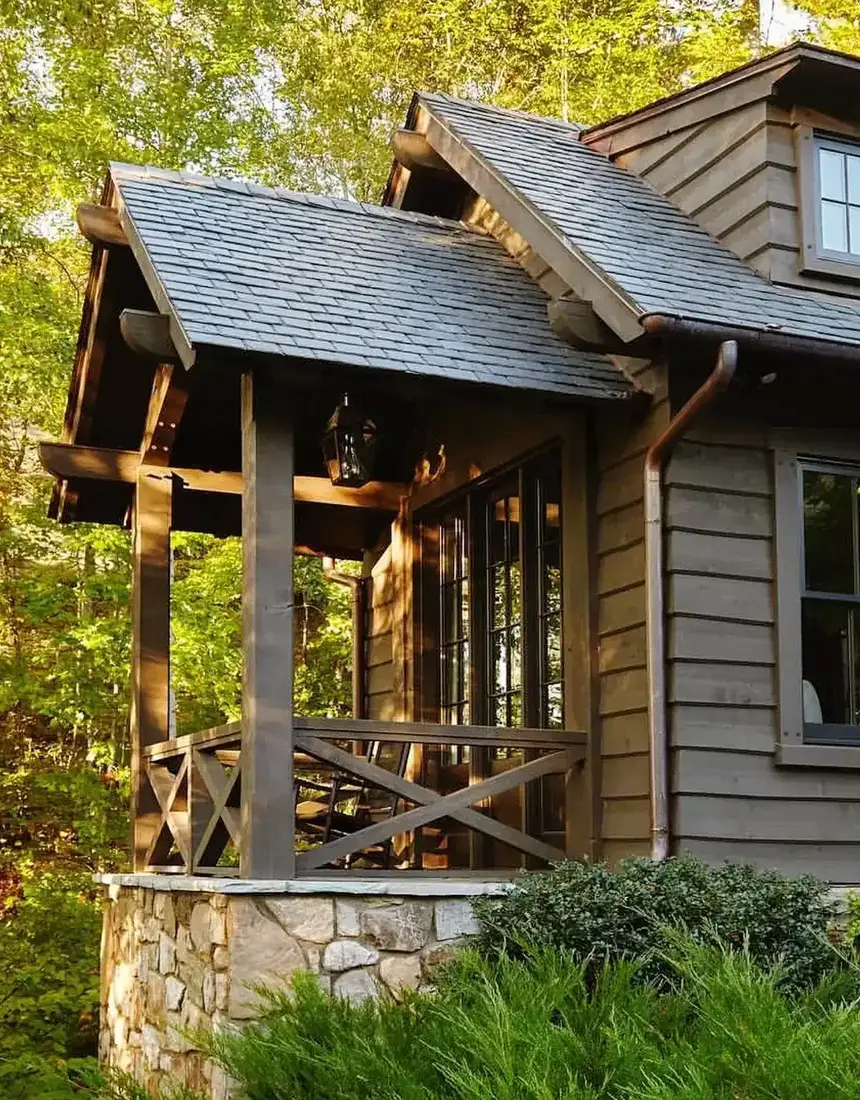
That cap is doing the close study in this picture, because it shows the junction most porches get wrong. Chunky timber posts stand on a tall stone pedestal, and a projecting capstone sits between the two. That cap is a drip detail doing structural looking work: rain leaving the post hits the cap and falls clear of the stone face.
Never stand end grain on masonry. Posts sit on a raised metal shoe, the kind Simpson Strong-Tie makes for the job, so air moves under the timber and the post base stays dry. A post bedded straight onto stone draws water up the grain, and it softens exactly where the load bears, which is the worst place on the whole porch. The stain here is a dark penetrating type, Sadolin Classic or Osmo Country Colour, and it wants recoating on the weather face long before the sheltered boards need it.
Point the pedestal in lime where the stone is soft, from suppliers such as St Astier or Singleton Birch, and brush the joint back so it sits behind the stone face. Proud mortar holds water against the stone all winter.
Build one entrance volume in stone and leave the rest alone
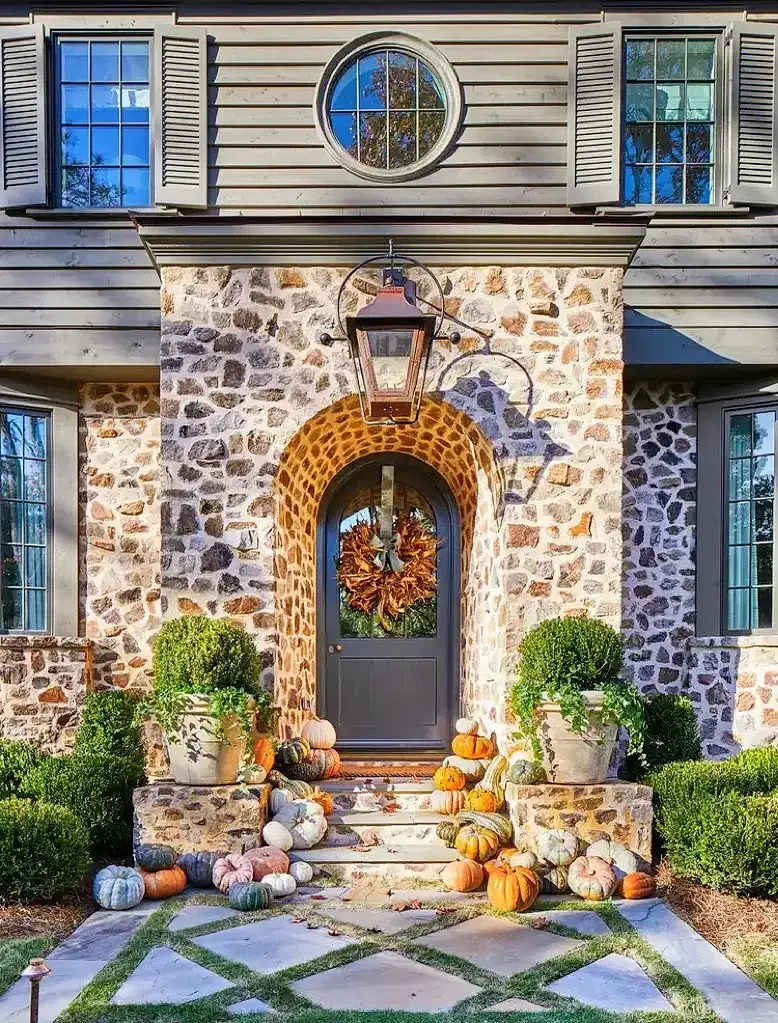
This front is stone where it counts and siding everywhere else. The ground floor entrance bay, the flanking piers, and the steps are all one masonry mass, while the grey clapboard starts at a clean head line above. That is the whole volume idea from the opening, executed at the door instead of along the whole front.
Read the arch. The doorway is ringed with tighter voussoirs in a warmer tone than the field of the wall, which tells you the opening was planned as masonry rather than cut later. An arch cut into an existing veneer needs a proper lintel behind it, and that is mason’s work with temporary support, not a grinder job on a Saturday. Lanterns and brackets fix into the joints with resin anchors, never by drilling the face of a stone, which spalls the surface and leaves a scar no mortar matches. A copper lantern in the Jim Lawrence register suits rubble of this tone, and it ages darker instead of peeling.
Take the door colour from inside the stone. A deep grey green or near black trim sits quietly against rubble with warm tones, in the same family as Benjamin Moore Knoxville Gray HC-160 or Farrow and Ball Railings No.31, while anything bright argues with every stone at once.
Stop the stone at the porch head and let the roof stay quiet
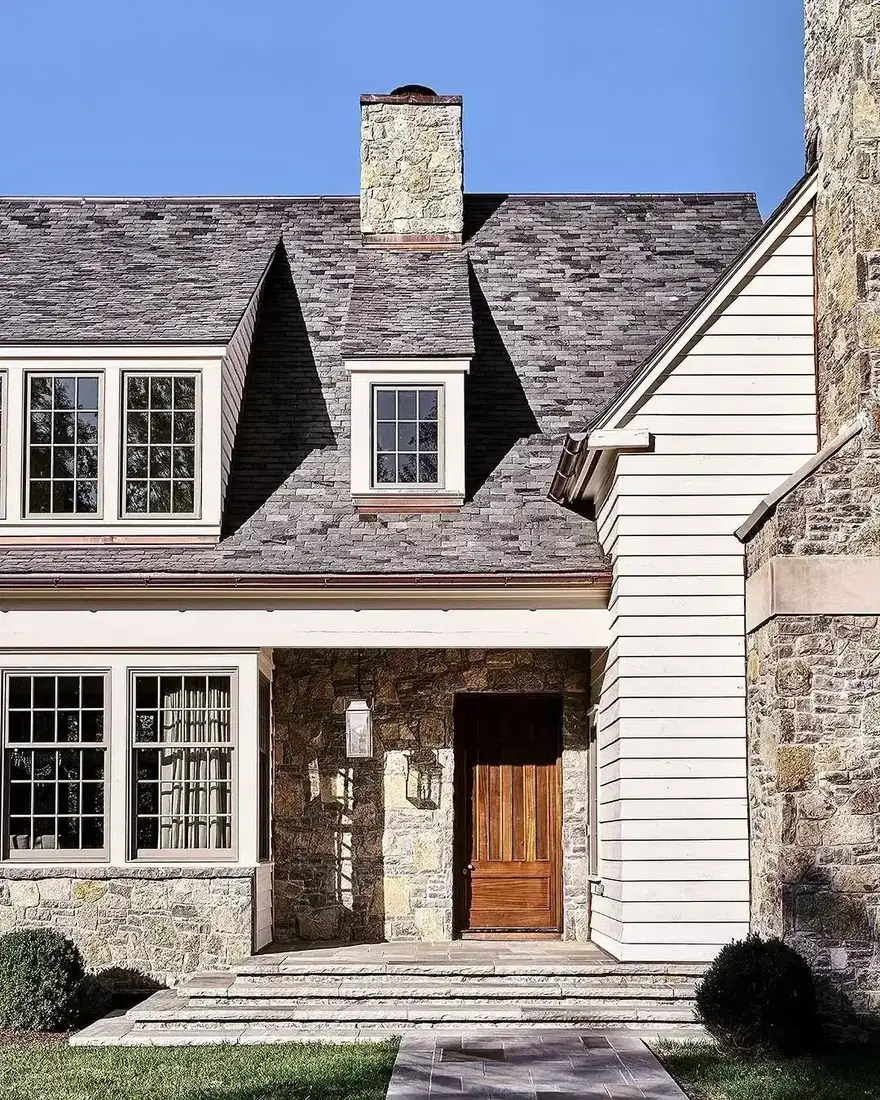
Another version of the same discipline. Stone forms the sheltered ground floor bay around the door, white clapboard takes the first floor and the gable, and the grey slate roof caps the composition. The material changes exactly where the building changes: at the porch head line, where the wall steps and the roof intervenes.
Note what the roof does not do. The slates, Cupa Pizarras or SSQ in register, echo the cool temperature of the stone without copying it, so the masonry stays the warm note and the roof the cool one. Chasing an exact match flattens the house; picking a roof that fights the stone makes the base look pasted. Lay a slate sample against the stone on an overcast day before committing, and choose the pair that sits muted together.
Keep the upper cladding light and quiet. White clapboard near Farrow and Ball Pointing or Benjamin Moore White Dove OC-17 holds its own against rubble without competing, and it throws daylight into the porch where the stone would otherwise read dark.
When the whole wall is stone, hold everything off it
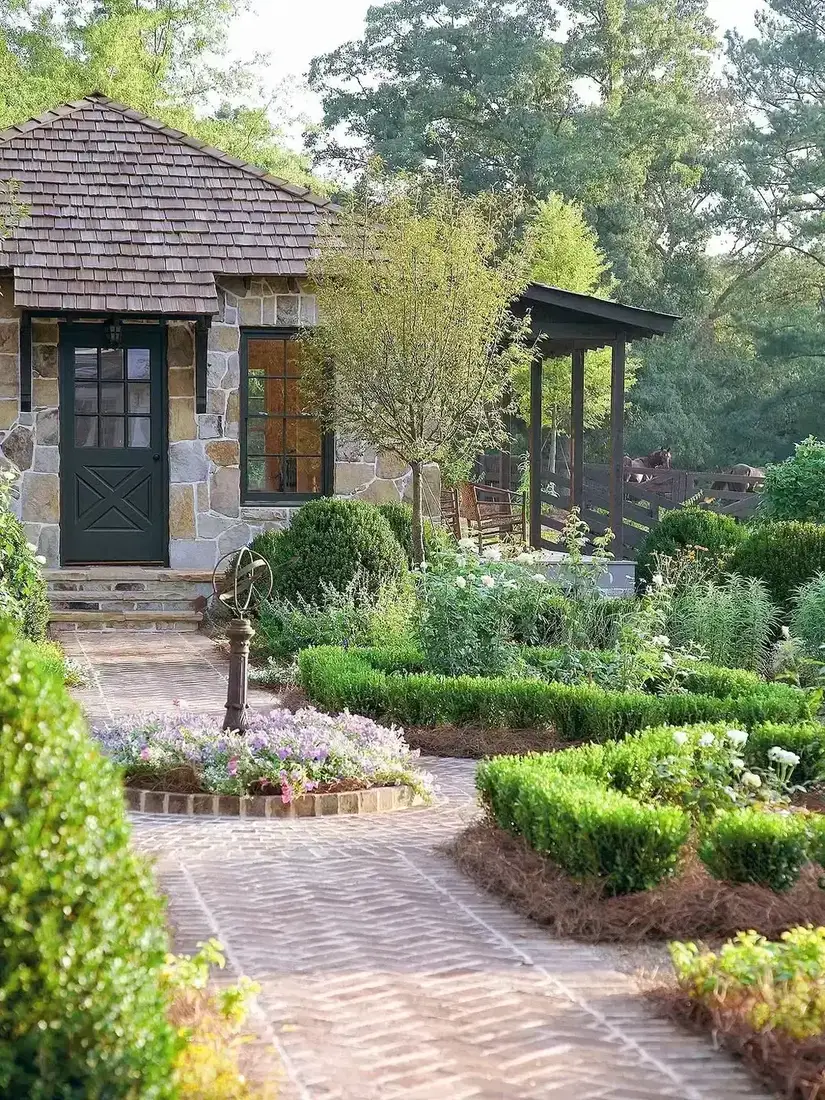
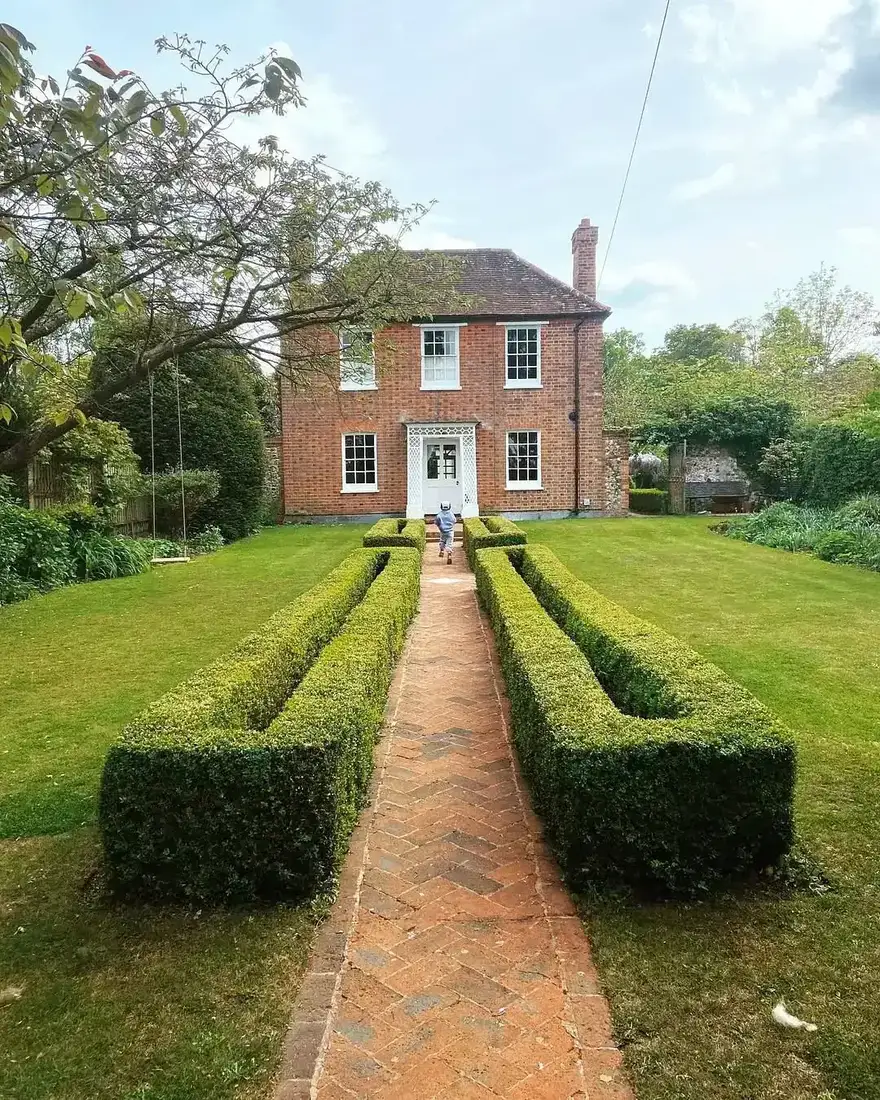
This cottage breaks the base rule openly: the whole front is stone, ground to eaves. It earns its place here anyway, because it shows what every base wants at its foot. The boxwood parterre sits forward of the wall with open ground between, so a strip of stone and a shadow line stays visible from the path. That gap is doing three jobs: it keeps the masonry readable, it lets air move across the face, and it leaves room to repoint without cutting through shrubs.
Copy the door treatment. One dark ledged door under a shallow hood, hand forged ironmongery from From the Anvil fixed into the joints, and nothing else competing on the wall. The brick path in herringbone falls gently away from the threshold, which is the fall every base wants whether the wall is full stone or half.
Skip this arrangement if the budget will not stretch to proper stone at the corners. A full stone front lives or dies on its quoins and reveals, and thin facing with mitred corners shows its true thickness exactly where this cottage shows strength.
Keep a dry collar around the foot of the wall
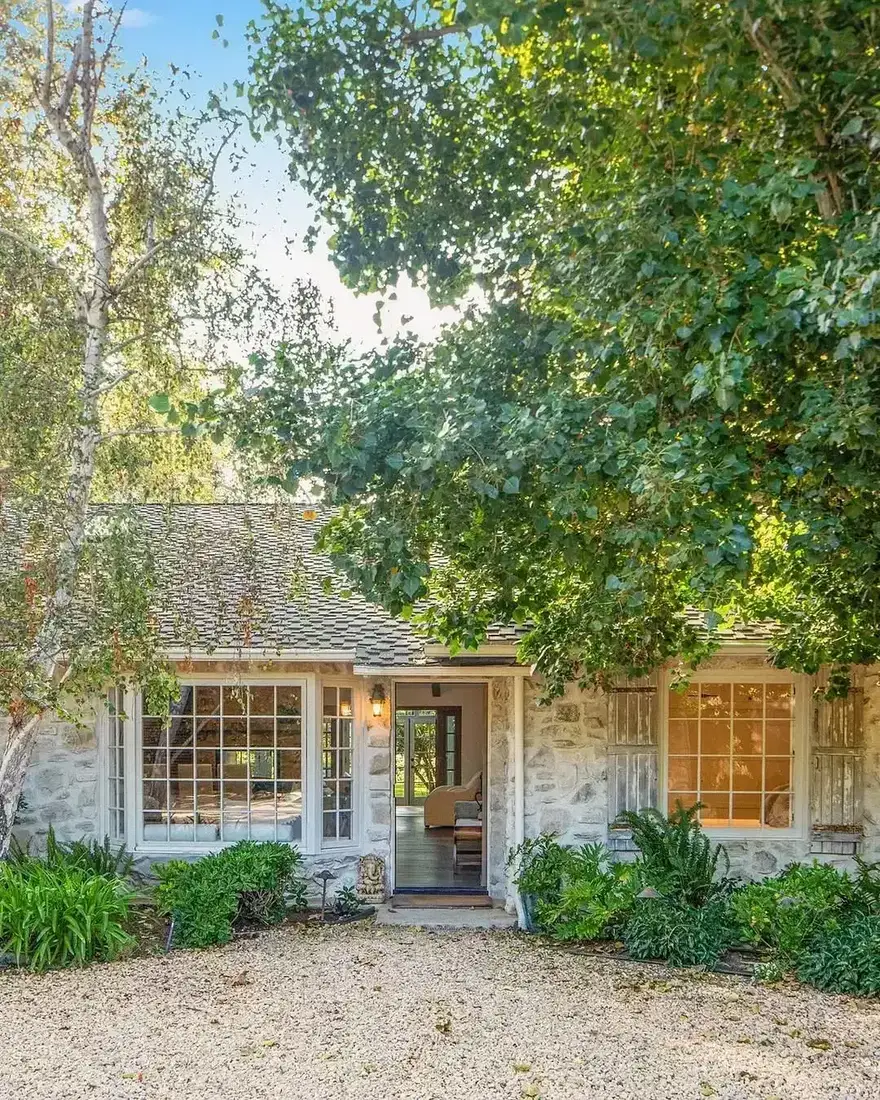
The walls here are pale, either limewashed stone or a thin lime render over it, and the forecourt is gravel right up to the plinth. That pairing is the whole lesson. Rain hits gravel, breaks, and drains, where rain hitting soil or paving splashes straight back onto the lowest stones and stains them green within a season.
Cut the soil back and lay a gravel margin along the foot of the wall, wide enough to catch the drip line. The dark steel frames, Crittall in register, suit the pale wall because the glazing bars stay thin and the openings read as holes cut in masonry. Cotswold buff gravel over a geotextile membrane stays clean and keeps draining, where bare hardcore silts up within a few seasons. The limewash itself is a working finish, not decoration: lime coatings from St Astier or Singleton Birch let trapped moisture leave the wall instead of sealing it in, which is what modern masonry paint does, to the wall’s cost.
Mind the planting the same way. Low shrubs are fine neighbours provided they stand off the face with air behind them. Anything pressed hard against the wall holds damp through winter and hides the pointing until it fails.
Lawn hard against the wall is the detail to undo
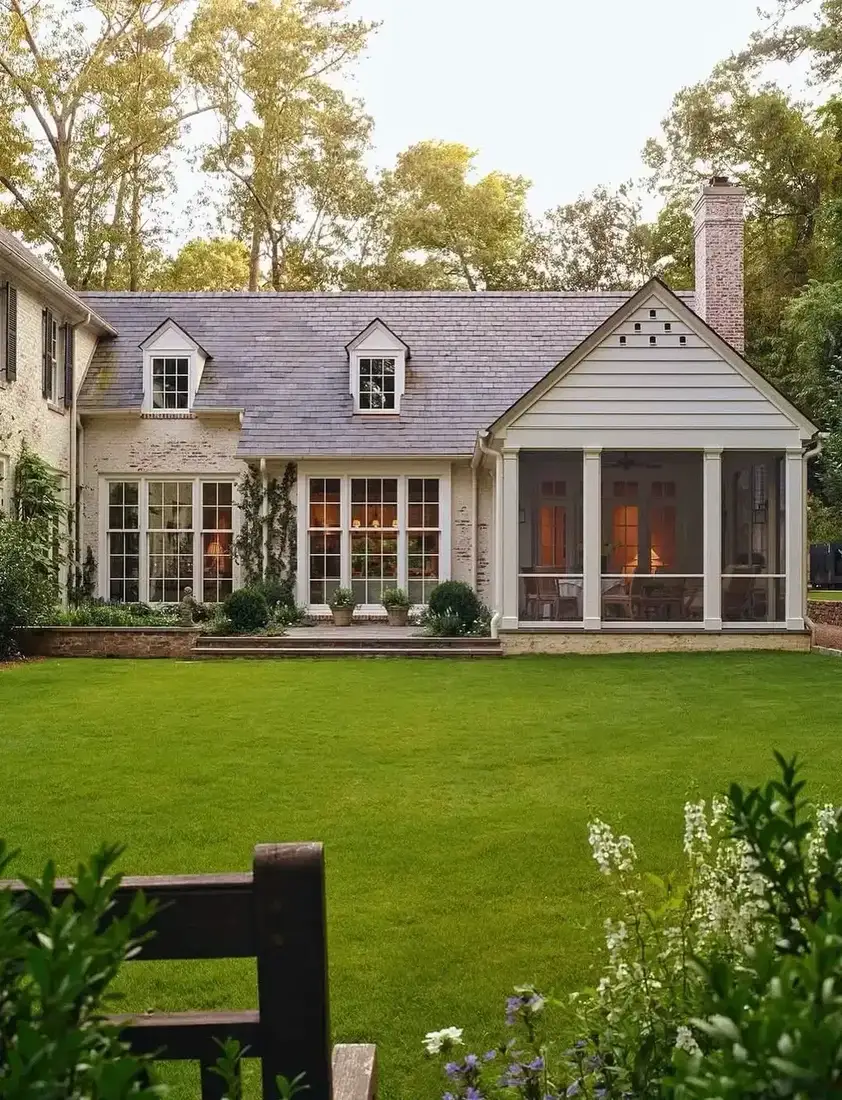
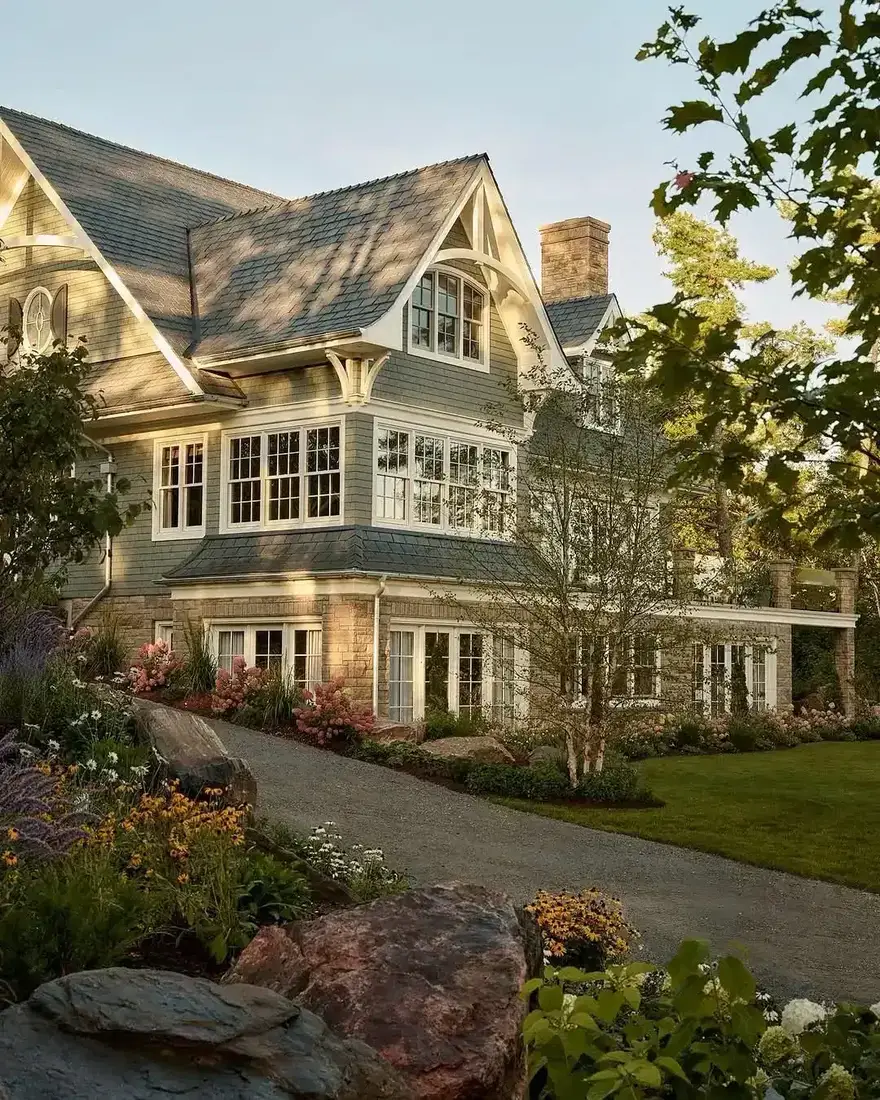
Read this one as a warning, because the wall here tells a different story from the filename. That is painted brick, not stone, and the lawn runs straight into it with no margin at all. Everything the previous cottage does right, this front skips: soil against the base, irrigation and mower spray wetting the lowest courses, and no way to inspect the pointing without kneeling in the grass.
Cut the lawn back. A gravel collar along the foot breaks the splash and gives the wall a chance to dry between rains, and it costs little more than an afternoon with an edging iron, a length of EverEdge steel edging, and a bulk bag of washed gravel. Mow with the discharge throwing away from the house, not into it, and keep the sprinkler off the wall entirely. Damp at the base climbs by capillary action, and paint over damp masonry blisters within a season.
Vent the porch base while the tools are out. A screened porch on a solid painted plinth traps humid air under the floor, so confirm the vents are open, recoat the plinth in Zinsser AllCoat when the existing paint chalks, and check the ground beneath falls away from the house. Rot starts in the dark where nobody looks.
One stone chimney is enough to anchor a dark house
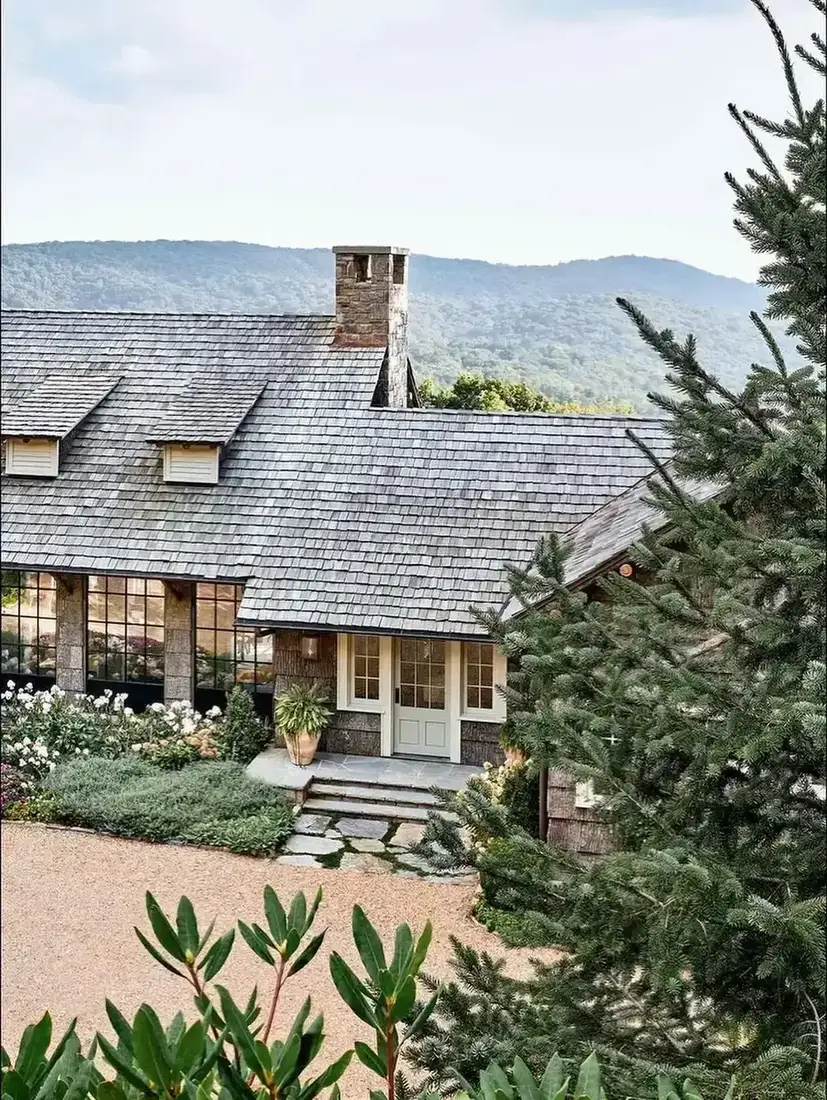
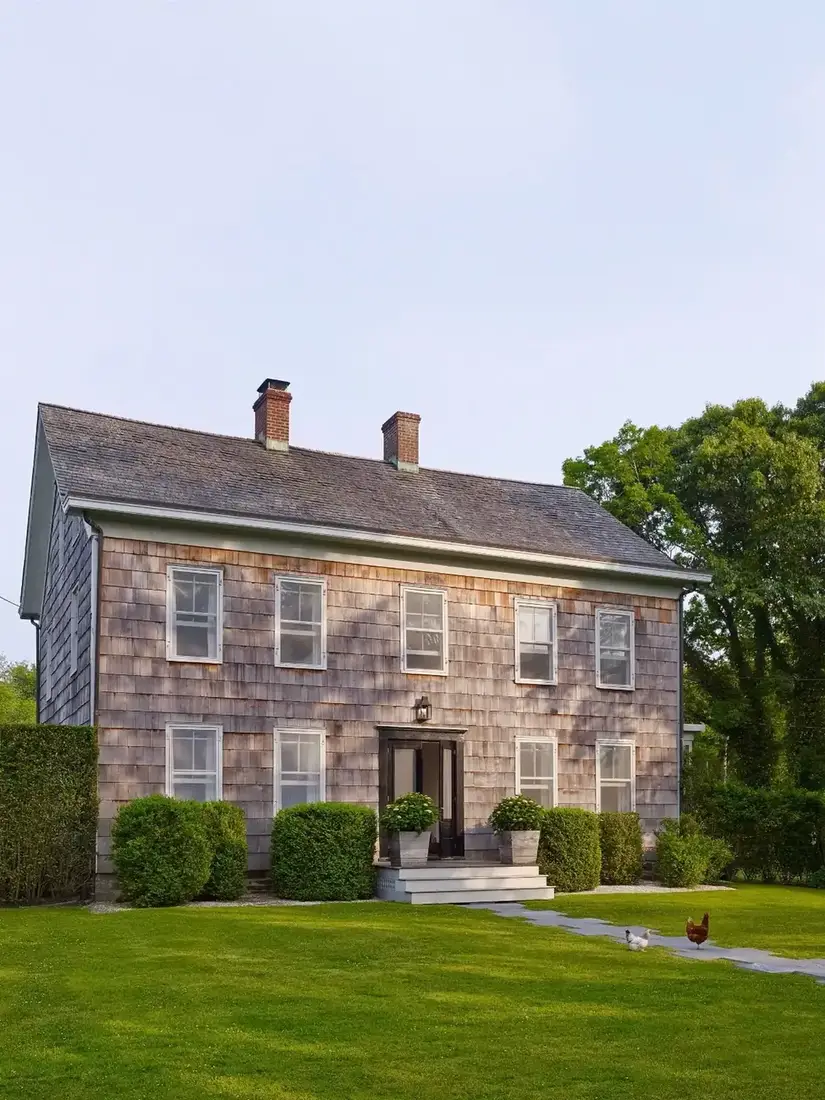
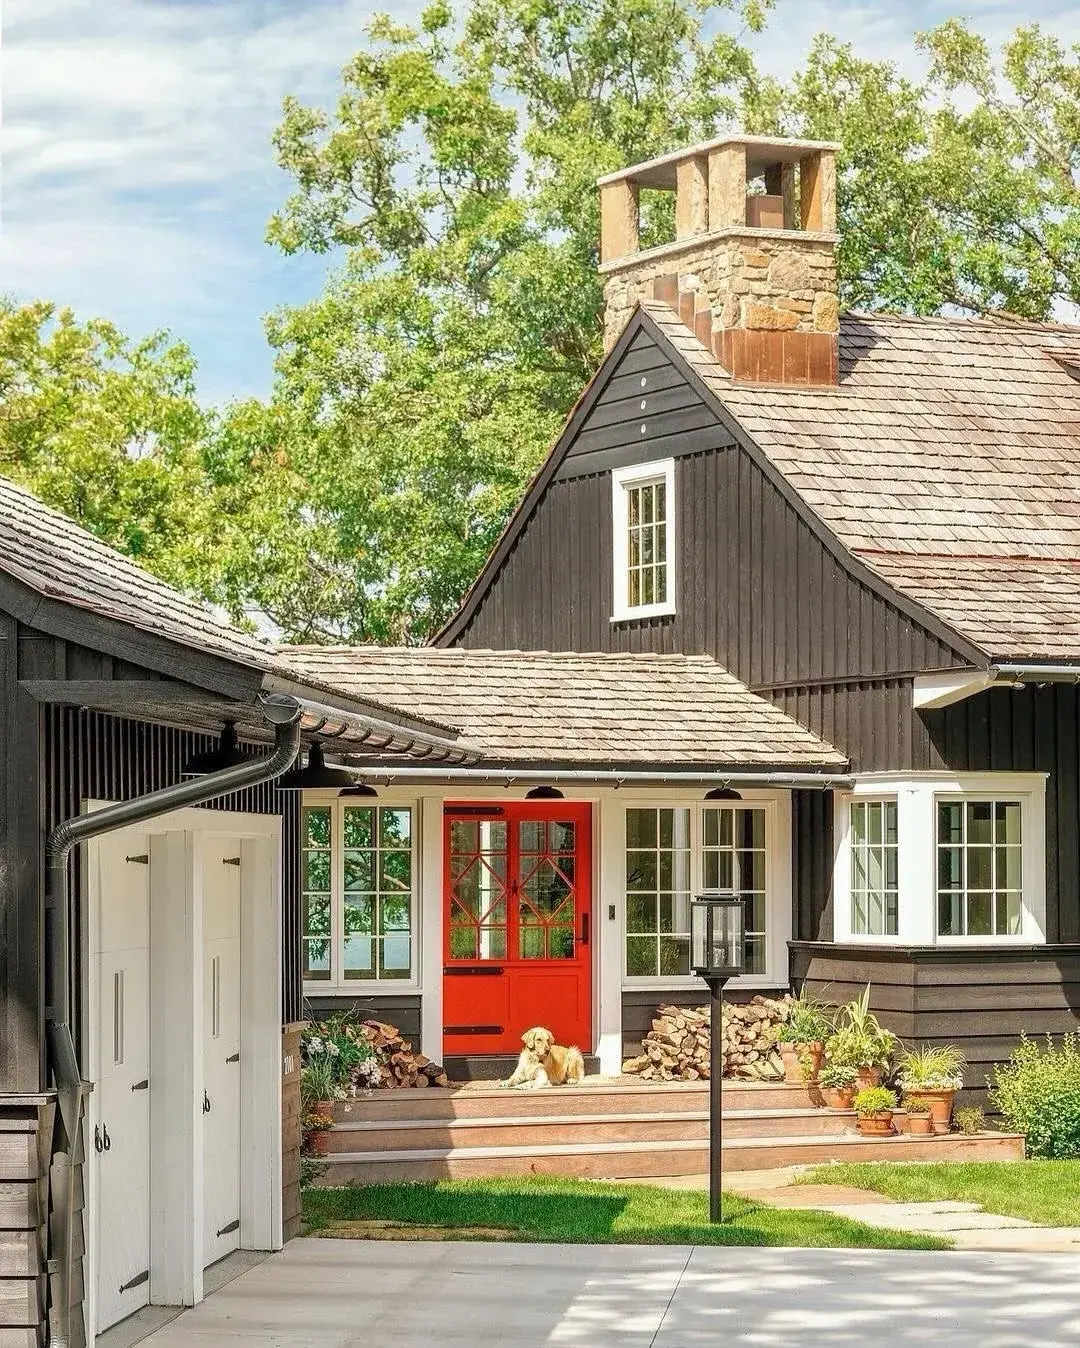
Last house, and the quietest stone in the set. The walls are dark stained shingle, the roof is shingle too, and the only masonry is the chimney stack rising through the slope. It works precisely because it is the only stone there. Dark timber needs one heavy anchor or it reads as a shed, and a single stack does that job for the price of a weekend’s scaffolding rather than a full re-clad.
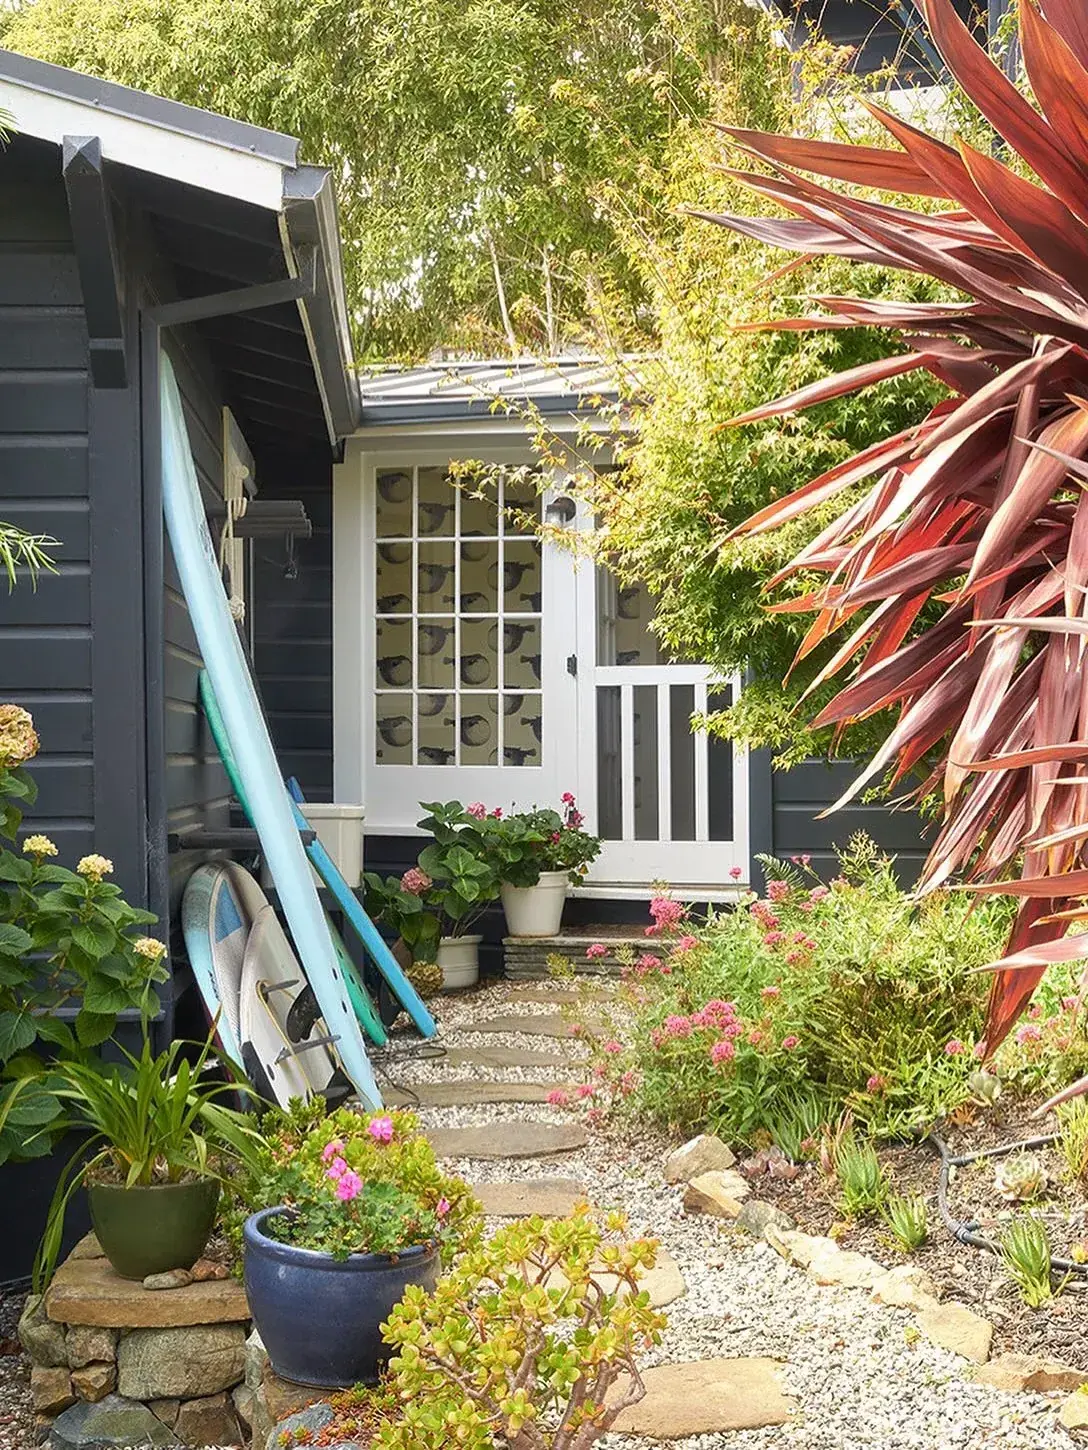
Keep the drive permeable. Gravel underfoot drains between the stones and never throws splash back at the walls, which is why this cottage sits dry despite the planting crowding in. Top it up when ruts show, and keep it falling away from the threshold so water leaves instead of ponding at the door.
Repoint the stack in lime, not cement. Old stacks were laid soft, and a hard cement joint forces frost to take the stone face instead of the mortar. That is mason’s work at height, with proper access, so price the scaffold before the pointing and leave both to someone who does it weekly.
Base choices at a glance
| Decision | What it fixes | Do this | Skip this |
|---|---|---|---|
| Stop line | Base reading as stuck on | Stop at a sill, floor, or water table line | A height picked by eye alone |
| Top joint | Water soaking the top course | Flashing behind the cladding with a drip | Boards or render tight to stone |
| Timber above | Rot from the bottom up | A clear gap with air moving through | Posts or boards bedded on stone |
| Sloping ground | Exposed concrete plinth | Step the stone with the fall | One level band leaving a triangle showing |
| Mortar | Joints shouting over stone | Match mortar to the stone itself | Mortar matched to the paint above |
| Foot of wall | Splash staining and damp | A gravel margin with planting held off | Soil or lawn hard against the face |
Frequently Asked Questions
How high up the wall should the stonework run?
Take the height from something the building already has, such as the underside of the sills, the first floor line, or a plinth course. Measure nothing in isolation. A course that lines through with an existing horizontal reads as structure, while a band stopped wherever looked pleasant from the drive reads as cladding.
What keeps driving rain out of the joint above the stone?
A metal tray concealed behind the upper finish with its edge kicked forward so drops fall clear of the masonry face. Without that kick, runoff sheets down into the head of the stonework, saturates the top bed, and lifts paint off the boards within a year or two.
May timber cladding bear directly onto the masonry?
It should not. Wood laid onto stone draws damp up the grain and decays where the load sits, which is the costliest part to renew. Carry posts on raised metal shoes and start boarding above a ventilated shadow gap, leaving room to redecorate the lowest board.
Does this treatment suit a garden that falls away?
It suits it better than flat ground does. Hold the head of the base dead level and let the courses step down with the slope, so the footing follows the land while the eye sees a true line. The alternative, a flat band, leaves a wedge of blockwork showing at the low end.
Which pointing colour flatters rubble and fieldstone?
One drawn from the masonry itself, chosen by holding sample chips against the stones wet and dry in daylight. A mix that echoes the wall lets each stone show, while a pale cement coloured joint grids the whole base and drags attention onto the pointing.
What belongs at the bottom of the wall?
A free draining shingle margin that catches the drip and dries between showers, with shrubs planted forward so air reaches the face. Turf or beds banked onto the plinth keep the lowest courses permanently damp and hide failing joints until the damage spreads.
In order
- Stop the stone at a volume, a floor level or a change of plane, never mid-wall.
- On a slope, let the base step with the ground rather than running level.
- Specify proper L-shaped corner pieces and inspect a finished corner first.
- Confirm flashing and weep holes where stone meets siding.
- Choose the stone before the siding colour, and source locally.
- Hold soil and planting off the face, with gravel at the foot to break the splash.
This article may contain affiliate links. We may earn a commission at no extra cost to you.