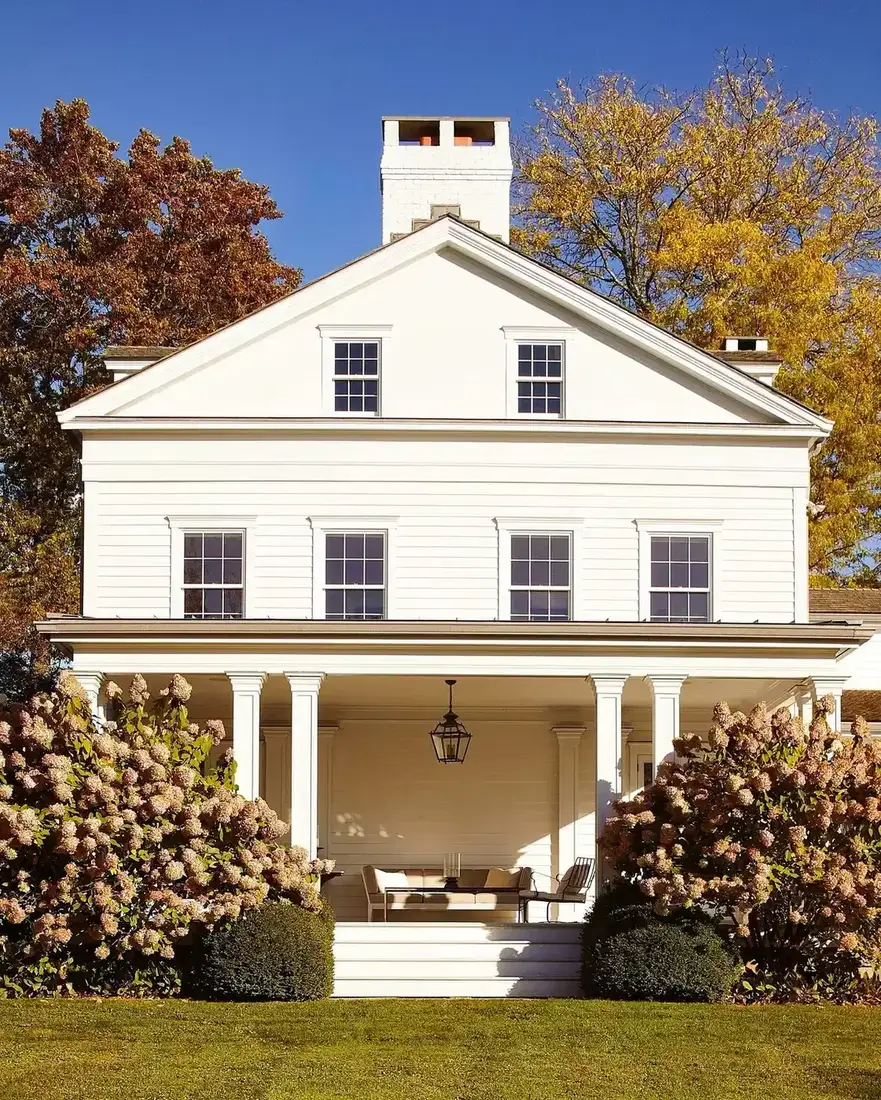
15 Stucco and Spanish Style Home Exteriors That Can Dry Out

Add us as a preferred source to see more stories on Google.

Rendered and painted masonry walls fail in a predictable way, and the cause is almost always the paint rather than the render.
A solid masonry wall has no cavity and no damp-proof course. It absorbs water and then lets it evaporate back out through its surface. That is how it has always worked.
Coat it in a modern acrylic masonry paint and you have sealed that surface. The water still gets in, at the eaves, around openings, up from the ground, and it now has nowhere to leave. It gathers behind the film, and in frost it pushes the render off the wall in sheets.
Which finishes breathe
| Finish | Breathable | Note |
|---|---|---|
| Limewash | Very | Traditional; chalky, needs refreshing |
| Mineral silicate paint | Very | Keim, Beeck; bonds chemically to masonry |
| Silicone-based masonry | Moderately | The usual modern compromise |
| Acrylic masonry paint | No | Seals the wall; wrong on solid masonry |
| Cement render over lime | No | Same problem in render form |
Limewash is the historic answer and it is genuinely beautiful, because it is slightly translucent and varies across a wall. It chalks and needs refreshing every five years or so, which is a light job rather than a repaint.
Mineral silicate paints are the modern equivalent and last considerably longer. Keim and Beeck are the two names that come up; expect £80 to £140 for 5 litres against £30 to £50 for an acrylic masonry paint. The premium buys a wall that does not fail.
None of this applies to a modern cavity wall with cement render, which was designed to be sealed and is fine with acrylic. The rough dividing line is the same as for brick: pre-1920s construction is usually solid.
Repairing render
If render has blown, the temptation is to patch it and repaint. That works only if the new render matches the old in strength and permeability.
Cement patches on lime render behave exactly like cement pointing on old brick: harder than what is around them, so the failure migrates to the edges of the patch. Within a few years you have a larger area to repair.
Specify a lime render for repairs on any old building, and expect the repair to look different until it weathers. Three coats, applied over weeks rather than days, with time between each.
The openings
Look at the window heads on that house. They are arched, with a raised band of masonry following the curve.
That detail is doing something structural in origin and visual in effect: it shows the wall has thickness. A flat rendered wall with plain square openings gives the eye no information about depth, and the result reads as a rendered box rather than as a masonry building.
Where arches are not appropriate, a simple raised relief band around each opening does the same job. On genuinely Spanish and Mediterranean buildings this is often a recessed reveal instead, with the window set deep into the wall and a wide splayed return.
Set the window back from the face of the wall rather than flush with it. A window flush with rendered masonry is the single clearest sign of a modern build imitating an old one.
Shutters, lanterns, and the rest
The shutters on that house are correctly proportioned, louvered, and fitted with visible hinges and shutter dogs, which is covered elsewhere on this site and applies identically here.
The lanterns are gas, which is a genuine Southern and Mediterranean tradition rather than an affectation. They run on natural gas or propane at very low consumption, they never need bulbs, and the flame moves. Electric reproductions with a flicker bulb are the practical alternative; the difference is visible but the cost and the installation are considerably simpler.
Copper for gutters and downpipes, which ages with the building. Plastic on a rendered house is the detail that most reliably cheapens it.
A ventilated wall does the same job differently
This is the one elevation on this page that is not rendered, and that should be said plainly. The walls are horizontal boards, the roof is standing-seam metal, and the Spanish moss is hanging in the live oak over the roof, not growing on the house.

It belongs here because boards and render solve the same problem from opposite ends. Siding goes on over a 50mm drained and vented cavity, so water that gets behind a board runs down the back of it and out at the base. Render has no cavity to drain. It has to pass moisture back through its own face, which is why the finish matters so much on a rendered wall and barely at all on a boarded one.
The roof is where the two houses agree. The eaves project well past the wall and the gutters are deep, so the rain is thrown clear of the base. That overhang costs very little and it keeps the bottom metre of wall dry.
Two details for a coastal site. Use A2 or A4 stainless fixings, because galvanised steel in salt air will stain a pale wall inside a season. And keep the ground below the render clear, since wind-driven rain on a coast travels up as readily as it comes down.
Smooth render shows the water
The wall here is finished smooth, and the photograph shows what that costs. There is no texture to break up the light, so every wave in the render reads, and every mark where water has run from a sill or a downpipe stays on the face.

That is the trade. A lace or dash texture hides a poor substrate and traps dust while it does it. A smooth finish has nowhere to hide, which is why it looks calm when the plastering is good and unforgiving when it is not.
The junction that decides it is the window head. Each opening is cut back into the wall with a 100mm reveal, and the render turns into that reveal instead of running flat against the frame. That turn is what stops water tracking from the face of the wall straight into the joint behind the trim.
If you are choosing the white, keep a little yellow in it. Benjamin Moore White Dove OC-17 and Farrow & Ball Pointing both sit in that range. Then check the foot of the downpipe for a shoe that throws water clear of the render. Copper will not stain cream the way galvanised steel does, at £25 to £45 per metre fitted.
The opening that cracks
A garage door is the largest hole in a rendered wall, and the head over it is where the render goes first. Above the red doors on this house the render runs across in one flat band with no visible joint, which means the lintel behind it is carrying everything and the render is only riding along.
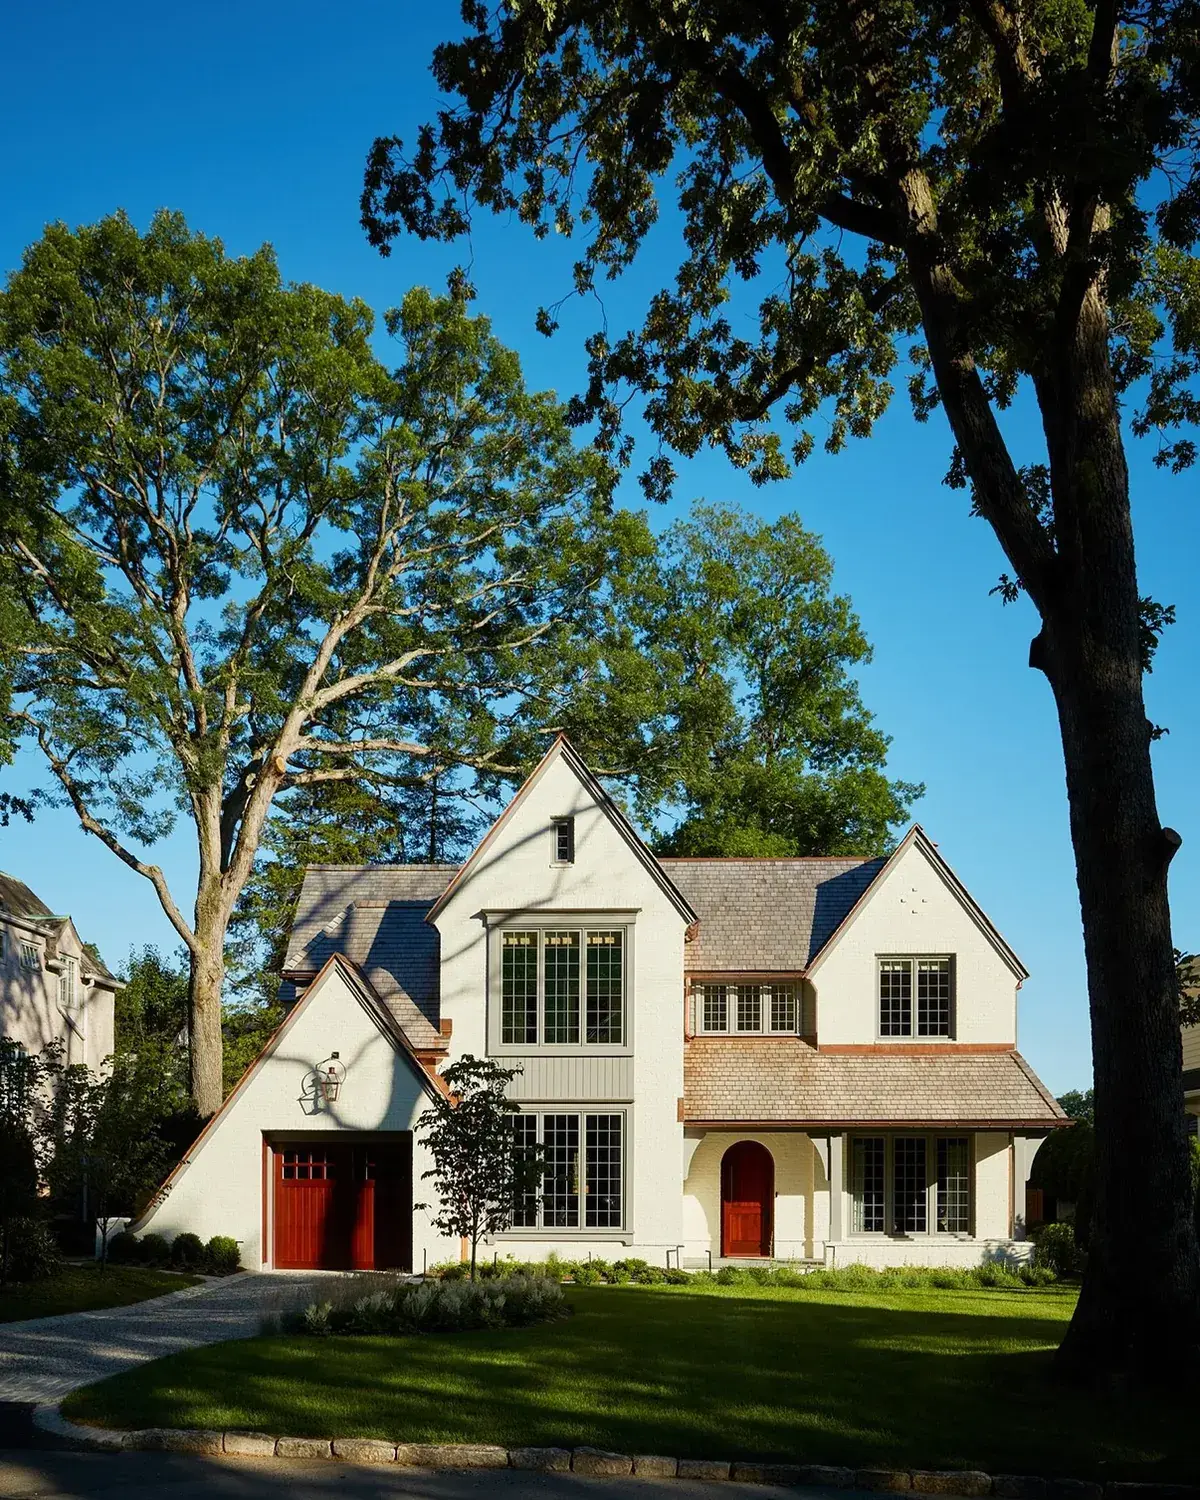
Render has almost no tensile strength. Span 2,500mm of it and it will crack at the corners of the opening, because that is where the wall moves and where the wall is weakest.
Two things prevent it. A movement joint in the render at each side of the opening, and a lintel sized for the load with a little deflection left in hand. Both are settled before the first coat goes on. Once the render is up, the repair is to cut it back and start again.
The red is a separate decision. Two doors in a strong red against a cream wall is a big commitment, and on a north-facing elevation that red will read muddy for half the year.
The gate piers are walls, and they get wet
A stucco pier is a small solid wall standing on its own. It takes water on four faces and on the top, and the top is the one that decides whether it still looks new in five years or striped in two.

Water that lands on an uncapped pier soaks into the render, runs down the face and leaves a tide line that no amount of washing removes. Cap it in stone at least 40mm thick, with a drip on the underside, and throw the water clear of the face.
The gate hangs off the same piers, and that is where the fixings matter. A timber gate is heavy and it moves. Fix the hinges with stainless masonry anchors set into the body of the pier, not into the render coat, because the coat is 15 to 20mm of skin and it will not hold a hinge under load.
Keep the finish identical too. The render on these piers is the same colour and texture as the house behind, which is why the two read as one property. Where the work goes in stages, keep the same sand and the same mix.
A porch protects the render and slows it down
A wall under a porch is out of the rain, and that is only half of it. It is also out of the sun and out of the wind, so it dries more slowly than the same wall standing in the open. After a wet winter, the render on that wall is the last part of the elevation to come back to colour.

What keeps it sound is what keeps every rendered wall sound: a finish that can breathe, and a clear gap between the ground and the render. The base of this wall shows the detail. There is a band of footing, then the render starts, and nothing is piled against either.
Five numbers decide most of this, and all five are cheap to get right.
| Element | Number | Why |
|---|---|---|
| Clear render above ground | 150mm | Stops splash-back staining the base |
| Eaves overhang | 300mm minimum | Throws rain clear of the face |
| Gutter, 60 sq m roof | 100mm | Handles a British summer storm |
| Downpipe | 75mm | Matches the gutter |
| Pier and wall cap thickness | 40mm | Sheds water off the top |
Beds creep upward every time you top up mulch, so check the gap each spring and pull the soil back.
Air under the floor, air in the wall
This house stands on brick piers with a ventilated space beneath the porch floor. That is the oldest damp strategy there is: keep the timber off the ground, let air move underneath, and the building dries from below as well as from the face.

The same logic applies to the wall. A solid rendered wall cannot be ventilated from behind, so it has to dry outward, and anything that slows that down will cause trouble. A cement-rich render over a soft old brick is the classic error, because the new render is harder and less permeable than the wall behind it. Moisture collects at the junction and the render lets go in sheets.
When you repair a rendered plinth or a pier, match the mix to what is already there. On old work that usually means lime, three coats, and a month between the first coat and the finish. It will look raw and pale for a season, and it will still be on the wall in 30 years.
The shutters on this elevation are a pale blue-green, and the shadow they throw is doing more work than the colour does.
Shade keeps a wall wet
The oak in this photograph covers most of the house, and the moss hanging in its branches tells you how much water is in the air. A wall under a tree like that stays damp long after rain, and growth starts on it within a season.

Nobody needs to fell the tree over it. What it does mean is that the finish has to be able to dry, and that the wash goes on the calendar. On a rendered wall in deep shade, expect to soft-wash once a year, not once every two, and expect the north and east faces to green first.
Keep the pressure low when you do it. Above about 100 bar a pressure washer will strip the surface of the render and leave the aggregate standing proud, which is a permanent change and a much larger job than the wash.
The porch is working here as well. Its roof throws the worst of the rain clear of the wall, and the open balustrade lets air move across the face. Where a porch is later glazed in, that airflow stops, and the render below it suffers within a couple of winters.
The arch is a reveal, not a shape
What looks like a decorative curve is a change in wall thickness. The wall is thicker at the arch than at the window beside it, and the soffit turns back from the face to the door frame. That turn is what gives an entry its depth, and it is also the route the water takes.

The underside of the arch here is smooth render, running back to the frame in one plane, and the tile roof above throws the rain clear of the face. Two details, both structural, and together they keep the head of the door dry.
Where an arch is formed in render, the curve needs a proper former and a galvanised or stainless bead at the springing. Cut it freehand and the curve will be uneven, and on a smooth finish an uneven curve is the first thing the eye finds.
The lanterns are fixed into the same wall, which is a small job with a large failure mode. A wrought-iron lantern on a bracket weighs 3kg to 6kg. Fix it with stainless anchors into the masonry, seal the hole, and hold the bracket clear of the render. Rust from a cheap bracket will run down white render in a single winter.
Where the porch roof meets the wall
A lean-to porch like this one puts a roof edge against a rendered wall, and that junction is where most porch leaks start. Water runs down the wall, meets the top of the porch roof, and finds the smallest gap in the flashing.

The photograph shows the arrangement that works. The porch roof sits below the main eaves, the gutter runs along its outer edge, and there is a cover flashing where the covering meets the render. Cut a chase into the render, dress a lead or copper flashing into it, and render back over the top edge. Silicone is not flashing, and neither is a bead of mastic.
The door head is the other thing to take from this. It is a full round arch carried in the timber door frame, not a square head with a panel above it, and that is far easier to get right than an arch formed in render.
Fix the posts on stainless base plates, never straight into the ground. A post sitting on a paving slab rots at the base in about 8 years, and you will not see it until the roof starts to drop.
Deep eaves keep a rendered wall dry
Count the roof overhang on this house. It projects a long way past the wall, and on a Mediterranean building that is about more than shade. It throws the rain clear of the render, so the wall stays dry for most of the year and only driving storms reach it.

That changes the maintenance. A rendered wall under a 600mm overhang will go far longer between washes than the same wall under a 150mm eaves. If you are building or re-roofing, the overhang is the cheapest moisture control available, and extending it by 200mm at design stage costs almost nothing.
The chimney is the part that gets wet whatever you do. It stands above the roof, it takes rain on four faces, and its render cracks at the top where the flue moves with the heat. Cap it, and check the render near the top of the stack every few years.
The garden wall is rendered and painted to match the house, which is why the whole elevation reads as one thing. Keep the finish and the mix the same, and cap the wall so the top course does not streak.
Render meets stone at the balustrade
Look at where the rendered wall stops and the stone balustrade begins. Two materials, two rates of movement, and a joint that has to let water out while keeping it from running behind the stone.

The usual way is a lead or copper tray dressed under the balustrade, with a 50mm upstand turned up behind it, so water that gets through the joints is collected and sent out over the face of the render. Leave the tray out and the water runs down the back of the stone, and you get a damp band on the wall below.
The arcade piers are the other thing to read. The arches are cut back into a wall that is clearly thick, and the french windows behind sit well inside the outer face. That depth comes from the wall construction, not from the trim.
Keep the plinth at the base of the render as well. It projects slightly, it is finished with a slope, and it throws water away from the wall.
Lanterns, and the hole they need
Every lantern on a rendered wall needs a hole through the render for the cable, and that hole is a permanent route for water into the wall. It is a small thing that leads to a large repair, and it is decided in ten minutes by whoever fits the light.

Done properly, the hole is drilled with a slight fall to the outside, sleeved, sealed with a neutral-cure silicone, and covered by the back plate of the fitting. Done the other way, water runs along the cable, into the wall, and down behind the render. You will see the stain about two winters later.
The porch shows the other half of the job. The arch over the entry is shallow, a segment and not a half circle, and the render runs over it in one continuous plane. A shallow arch is easier to form than a deep one, and it still gives the opening a head that reads as deliberate.
Both lanterns are from the same family, one hanging and one on a post, and the repetition is what makes the entry look considered.
What a shutter does to a rendered wall
A shutter on a rendered wall is a panel of timber standing off a surface that water runs down. Everything that matters about it is in the gap between the two.
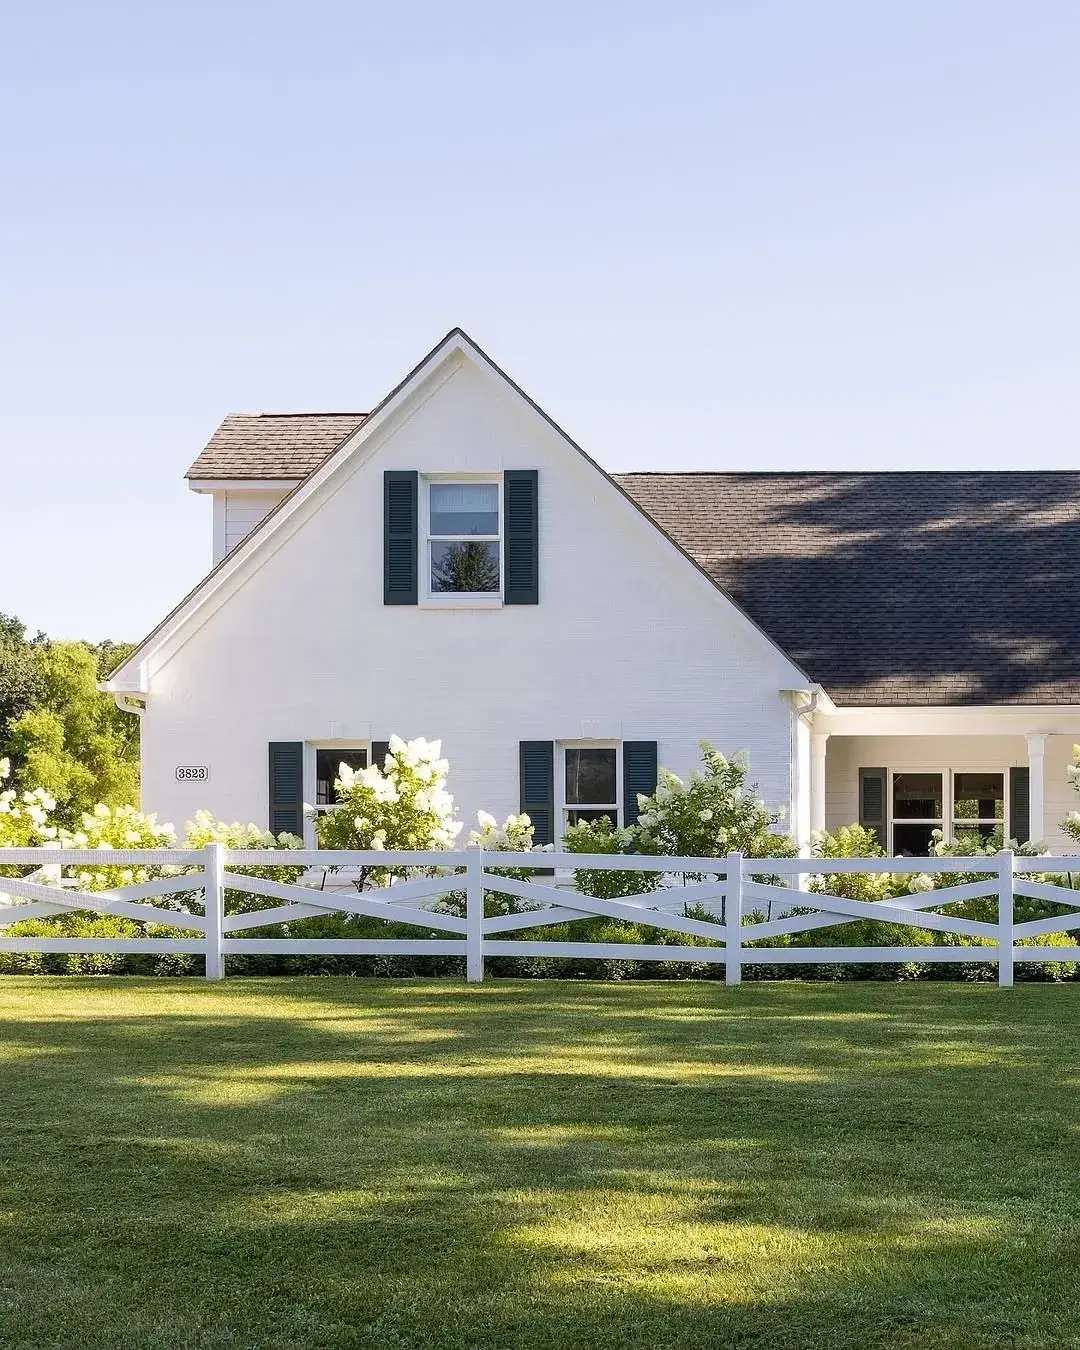
Hang it tight against the render and you have built a trap. Water runs down the wall, gets behind the shutter and sits in the joint. Within a few years the paint on the back of the board has gone and the render behind it has gone green. Hold the shutter 20 to 25mm off the wall on the hinges and let air move behind it.
The fixings are the second thing. A louvered panel is light, but the hinge screws still have to reach the masonry behind the render, not the render itself. Use stainless screws long enough to get 40mm into the wall. A shutter that pulls out takes a patch of render with it.
The shadow the boards throw is what makes them read as working joinery, and it exists only because they stand off the wall. Screwed flat, the same shutters would read as painted panels.
The holdback is the working part
A shutter has three jobs, and only one of them is decoration. It shades the glass, it adds depth to a flat wall, and it has to stay where it is put. The holdback does the third job, and it is the part most often left off.

Without a holdback, a louvered shutter swings in the wind, works its hinges loose in the render, and eventually cracks the render around the fixing. Fit a holdback or a shutter dog to every pair, into a masonry fixing, and set it so the panel is held 25mm clear of the wall.
The head of the window is the detail to copy. Above the main opening there is a small curved light, and the curve is formed in the render with a bead at the edge, the same way as any arch. Get the bead right and the render will not chip along the curve.
The cupola on the roof is rendered to match the wall, and it sheds water on every face at once. That makes it the first place to check after a hard winter, and the last place anyone looks.
Frequently Asked Questions
Does a rendered wall need a special paint?
If the wall is solid, yes. Anything sold as a masonry paint and based on acrylic will seal the face and hold moisture behind it. Look for limewash, a mineral silicate coating, or a silicone-based masonry paint, and ask for the permeability figure before you buy.
How do I tell whether my wall is solid or cavity?
Measure the thickness at a window or door reveal. Solid masonry usually runs 300 to 500mm and the reveal shows one material through its depth. A cavity wall reads as two leaves with a gap between them. On a house built before the 1920s, assume solid until you have checked.
Why has the render blown off in patches?
Water got in and could not get back out. The usual cause is a cement-rich render or a sealed paint over a soft, absorbent wall. Take the loose material back to something sound and rebuild with a mix that is weaker and more permeable than the wall behind it.
Can I pressure wash render?
Not on a high setting. Stay below about 100 bar, use a wide fan, and work from the top down. A narrow jet strips the surface and leaves the aggregate proud, and that is permanent. A soft wash and a stiff brush take longer and cost nothing to put right.
Do shutters damage a rendered wall?
They can. A louvered panel is heavy enough to work its hinge fixings, and a shutter screwed tight to the wall traps water behind the boards. Fix into the masonry behind the render coat, hold the panel 20 to 25mm off the face, and fit a holdback.
How often does a rendered wall need washing?
Once a year where the wall stands in the open, twice where a tree or a neighbouring building keeps it in shade. Treat the wash as the inspection round as well, because hairline cracks and stained patches show up while the render is wet and are easy to miss when it is dry.
In order
- Establish whether the wall is solid or cavity before choosing any paint.
- On solid masonry use limewash or a mineral silicate paint, never acrylic.
- Ask for the sd value; below 0.1m is breathable.
- Repair lime render with lime, mixed weaker than the wall behind it.
- Give openings an arched or relieved head, and set windows back from the face.
- Leave 150mm of render clear at the base and check the gap each spring.
- Cap piers, chimneys and garden walls so water leaves the top of the wall.
- Hold shutters 20 to 25mm off the render and fix the hinges into the masonry.
This article may contain affiliate links. We may earn a commission at no extra cost to you.